
Brought to you by ZZ the HANDYMAN – Your Trusted Flooring Expert in the USA
Vinyl flooring is a popular choice across the USA for good reason. It’s cost-effective, durable, and comes in styles that mimic wood, stone, or ceramic. But even the best vinyl has a lifespan. When it starts peeling, bubbling, or just looks outdated, it’s time for a change.
In this guide, ZZ the HANDYMAN walks you through how to replace vinyl flooring the right way. Whether you’re taking the DIY route or thinking about hiring a professional, this detailed step-by-step blog is here to help you make the right moves.
Why Replace Vinyl Flooring?
Knowing when to replace your vinyl floor is essential for maintaining your home’s beauty and safety. Here are some of the most common reasons people across the USA replace vinyl flooring:
- Visible wear and tear, like rips, cracks, or dents
- Discoloration from sunlight, water, or age
- Peeling edges or curling corners
- Bubbles or bulges caused by moisture or poor installation
- Outdated design or personal preference
Replacing vinyl flooring gives your home a fresh, clean, and modern feel. It also adds value, especially if you’re planning to sell.
Tools & Materials You’ll Need
Whether you’re hiring ZZ the HANDYMAN or going the DIY route, these are the essential tools and supplies:
Tools:
- Utility knife
- Tape measure
- Floor scraper
- Pry bar
- Trowel
- Straightedge
- Heat gun (for glue removal)
- Jigsaw (for cutting around obstacles)
Materials:
- New vinyl flooring (planks, tiles, or sheets)
- Adhesive or peel-and-stick backing (depending on type)
- Underlayment (optional)
- Seam sealer (for sheet vinyl)
- Double-sided flooring tape
- Transition strips and moldings
Step-by-Step Guide to Replacing Vinyl Flooring
Step 1: Remove the Old Vinyl Flooring
This is the most labor-intensive part of the job.
How to Do It:
- Cut the old vinyl into manageable strips using a utility knife.
- Peel the strips up. Use a scraper and heat gun to loosen glue.
- Remove any adhesive residue from the subfloor.
💡 ZZ the HANDYMAN Tip: Wear gloves and safety goggles. A clean removal makes the installation smoother.
Step 2: Prepare the Subfloor
A well-prepped subfloor is crucial to the durability of your new vinyl flooring.
What to Check:
- The subfloor should be clean, dry, and level.
- Fill any holes or cracks using patching compound.
- Sand down high spots and remove all debris.
💡 Pro Tip: If you’re installing over concrete, make sure it’s completely dry. Moisture can destroy vinyl over time.
Step 3: Measure the Room Accurately
Accurate measurements will save you time, money, and frustration.
Here’s How:
- Measure the length and width of the room.
- Multiply to get square footage. Add 10% for waste.
- Mark reference lines to help guide installation.
💡 ZZ’s Advice: “Measure twice, cut once.” Mistakes in this step can be expensive.
Step 4: Cut the New Vinyl Flooring
Whether you’re using planks, tiles, or sheet vinyl, cutting accurately is key.
For Vinyl Sheets:
- Lay the sheet flat in the room.
- Trim excess vinyl using a straight edge and a utility knife.
For Planks or Tiles:
- Use a jigsaw or vinyl cutter for tight corners and shapes.
- Stagger seams like bricks for a natural appearance.
💡 ZZ the HANDYMAN Note: Always leave a small expansion gap (about 1/4 inch) around the perimeter.
Step 5: Install the New Flooring
Here comes the most rewarding part!
For Peel-and-Stick Vinyl:
- Peel the backing and press firmly into place.
- Use a roller to eliminate air pockets.
For Glue-Down Vinyl:
- Spread adhesive with a notched trowel.
- Lay each piece and press down firmly.
- Roll over the entire floor to bond it.
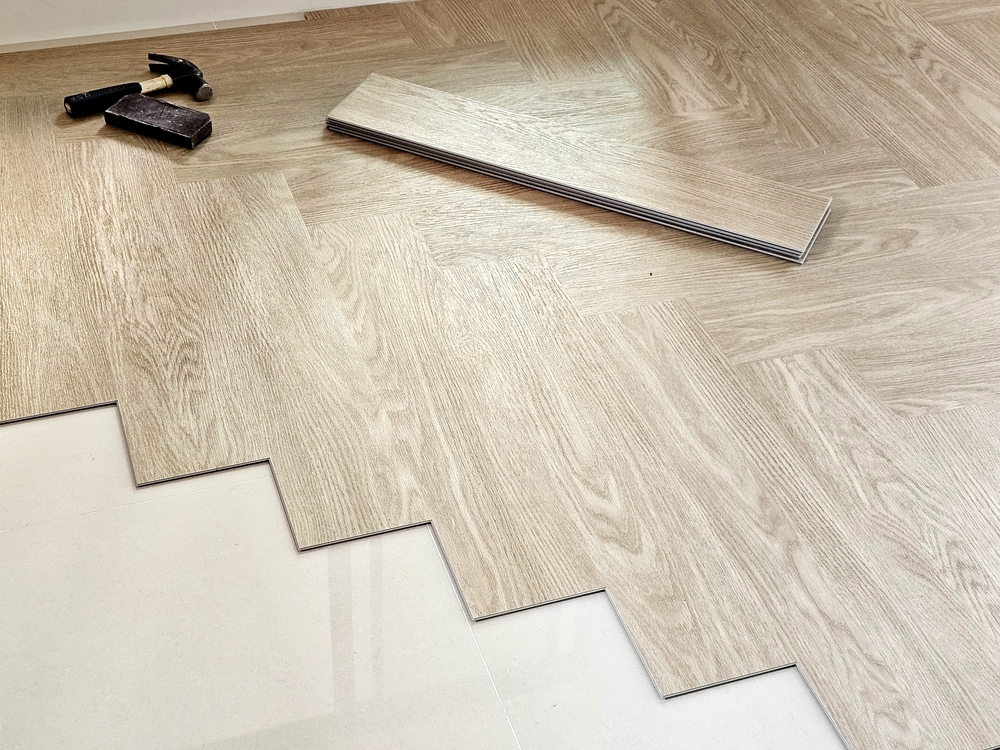
For Click-Lock Vinyl Planks:
- Start from one corner and snap pieces together.
- Work row by row across the room.
💡 ZZ Reminder: Follow the manufacturer’s instructions closely. Each brand has unique requirements.
Step 6: Finishing Touches
Clean edges and finishes are what turn a good job into a great one.
- Trim any excess material around doorways or corners.
- Install transition strips where vinyl meets other flooring.
- Add baseboards or quarter-round molding.
- Use seam sealer if required for sheet vinyl.
Vinyl Flooring Replacement: DIY or Call ZZ the HANDYMAN?
While DIY sounds fun and budget-friendly, vinyl flooring installation comes with its own challenges. Let’s compare:
| Feature | DIY | ZZ the HANDYMAN |
| Skill Required | Moderate | Professional |
| Tools Needed | Yes | No – all tools provided |
| Time Taken | 1–2 days | Half to full day |
| Risk of Mistakes | High | Very low |
| Quality Guarantee | None | Yes |
ZZ says: “If you’re unsure about even one step, give me a call. A poorly installed floor can cost more in the long run.”
Caring for Your New Vinyl Floor
Now that your new vinyl flooring is installed, keep it in great shape:
Do:
- Sweep or vacuum regularly.
- Wipe spills immediately.
- Use felt pads under furniture.
- Clean with mild detergent and water.
Don’t:
- Use abrasive cleaners.
- Drag heavy furniture across the floor.
- Let water pool for long periods.
💡 ZZ the HANDYMAN Aftercare Tip: Set a reminder to re-seal seams (if needed) once a year for longer life.
FAQs – Replacing Vinyl Flooring
How long does vinyl flooring last?
Typically, 10–20 years, depending on traffic and maintenance.
Can I install vinyl over old vinyl?
Yes, but only if the existing floor is in perfect condition—flat, clean, and not peeling.
Is vinyl waterproof?
Most modern vinyl flooring is water-resistant or waterproof, especially luxury vinyl tiles and planks.
Why Choose ZZ the HANDYMAN?
ZZ the HANDYMAN is a trusted name across the USA for high-quality vinyl flooring replacement and other home improvement services.
Here’s what sets ZZ apart:
- Years of hands-on flooring experience
- Professional tools and materials
- Punctual, clean, and respectful service
- Affordable pricing with no hidden fees
- Satisfaction guarantee on all work
So whether you need one room redone or your entire home’s flooring replaced, trust ZZ the HANDYMAN to get the job done right—the first time.
Ready to replace your vinyl flooring? Contact ZZ the HANDYMAN today!
Final Thoughts
Vinyl flooring replacement doesn’t have to be overwhelming. With a bit of planning, the right tools, and attention to detail — or help from ZZ the HANDYMAN — you can enjoy a beautiful, durable new floor that elevates your living space.
So roll up your sleeves or give ZZ a ring. Either way, your dream floor is just a few steps away!
