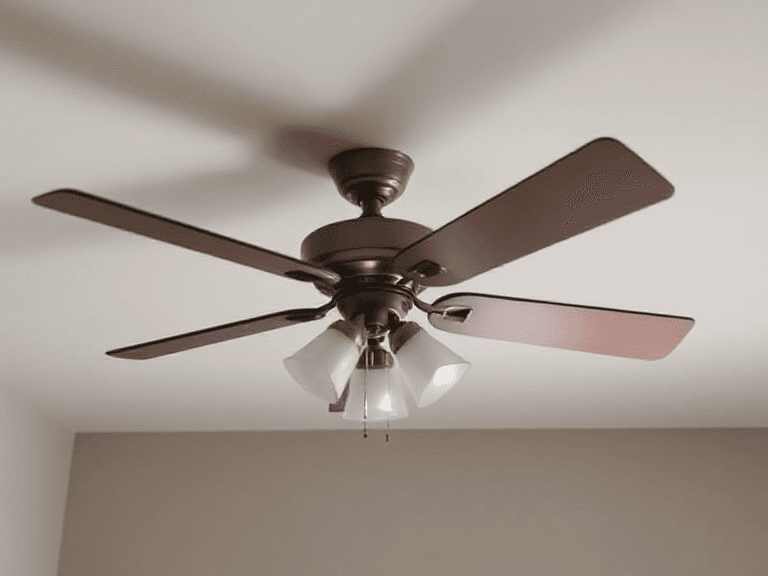
Ceiling fans are a staple in homes and businesses alike, offering efficient cooling, cost-effective energy savings, and aesthetic appeal. Whether you’re upgrading your space or installing a fan for the first time, knowing how to install a ceiling fan properly can save you time and ensure your safety. In this guide, ZZ the HandyMan takes you step-by-step through the process of ceiling fan installation.
Why Install a Ceiling Fan?
Ceiling fans are more than just a cooling solution; they bring numerous benefits:
- Energy Efficiency: Ceiling fans can reduce reliance on air conditioning, cutting energy costs.
- Style and Ambiance: Available in various designs, ceiling fans can enhance the aesthetic of any room.
- Year-Round Comfort: Modern fans often include a reverse setting, circulating warm air during winter months.
Tools and Materials You’ll Need
Before you begin, gather the necessary tools and materials:
- Screwdrivers (Phillips and flathead)
- Voltage tester
- Wire strippers
- Electrical tape
- Drill and bits
- Ladder
- Ceiling fan kit
- Support brace (if required)
- Stud finder
- Circuit tester
Safety Precautions
- Turn Off Power: Always shut off the power at the circuit breaker before starting. Use a voltage tester to confirm no electricity is flowing to the installation site.
- Check the Ceiling Box: Ensure the electrical box is rated for ceiling fans. Standard boxes may not support the fan’s weight and movement.
- Read the Manual: Each fan model has unique components and instructions. Familiarize yourself with these before proceeding.
Step-by-Step Installation Guide
Step 1: Prepare the Installation Site
- Remove Existing Fixtures: If replacing a light fixture, carefully detach it and disconnect the wiring.
- Inspect the Electrical Box: Confirm it is securely fastened to a support brace capable of holding the fan’s weight.
- Install a Support Brace: If your ceiling lacks proper support, install a brace between the joists for added stability.
Step 2: Assemble the Fan Components
- Attach the Downrod: Connect the fan’s motor to the downrod if applicable. Tighten securely to prevent wobbling.
- Prepare the Blades: Attach the blade brackets to the fan blades. Keep these aside for later attachment.
- Secure Decorative Elements: If your fan includes a light fixture or decorative canopy, assemble these as per the instructions.
Step 3: Wire the Ceiling Fan
- Match the Wires: Connect the fan wires to the corresponding wires in the ceiling box:
- Black (or red): Live wire
- White: Neutral wire
- Green or bare copper: Ground wire
- Secure Connections: Twist the wires together, secure them with wire nuts, and wrap connections with electrical tape.
- Test the Connections: Tug gently to ensure wires are tightly connected.
Step 4: Mount the Ceiling Fan
- Attach the Fan to the Ceiling Box: Secure the fan’s mounting bracket to the electrical box using screws provided in the kit.
- Hang the Motor: Lift the motor assembly and attach it to the mounting bracket. Ensure it’s locked in place.
- Attach the Blades: Screw the fan blades into the blade brackets, ensuring all screws are tightly fastened.
Step 5: Install Additional Features
- Add the Light Kit: If your fan includes lighting, connect the wires and secure the light fixture.
- Install the Remote or Wall Switch: Modern fans often include remote controls or wall-mounted switches. Follow the manufacturer’s wiring instructions for these components.
Step 6: Test the Fan
- Restore Power: Turn the circuit breaker back on.
- Check Operation: Test the fan’s speed settings and direction. If it wobbles, tighten the screws and check the balance.
Troubleshooting Common Issues
- Fan Wobbling: Check for uneven blade installation or loose screws. Use a balancing kit if necessary.
- No Power: Verify the wiring connections and circuit breaker settings.
- Noise Issues: Tighten all screws and ensure the fan is not in contact with any obstructions.
Maintenance Tips
- Clean Regularly: Dust the blades and motor housing to maintain efficiency.
- Tighten Screws: Periodically check for loose screws or brackets.
- Inspect Wiring: Look for signs of wear or damage in the wiring.
When to Call a Professional
While installing a ceiling fan is a manageable DIY project, certain situations may require professional assistance:
- Electrical Upgrades: If your home’s wiring isn’t up to code.
- High Ceilings: Installing a fan on a vaulted or high ceiling can be challenging.
- Complex Configurations: Fans with advanced features like integrated smart technology may need expert setup.
Conclusion
Ceiling fan installation is a rewarding project that can transform the comfort and style of your space. By following these steps and safety tips, you can confidently install a ceiling fan that provides cooling relief and energy savings for years to come. If you’re unsure or need assistance, ZZ the HandyMan is here to help with expert installation services. Reach out today for all your home improvement needs!


