Top Kitchen Remodeling Ideas for Jacksonville Homes in 2026
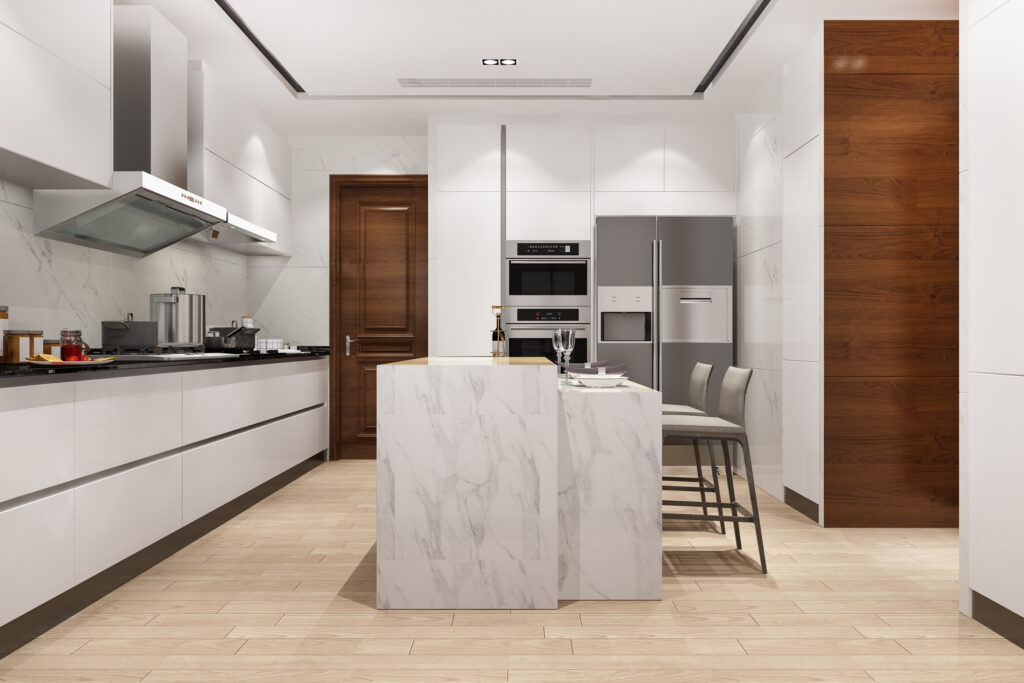
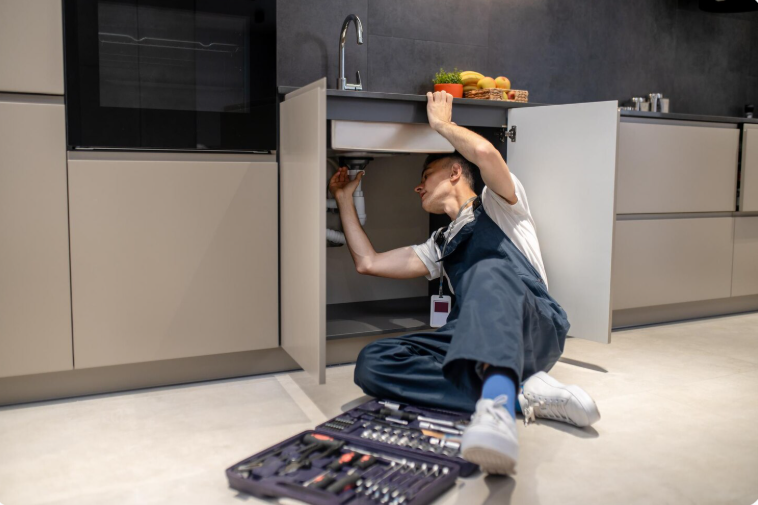
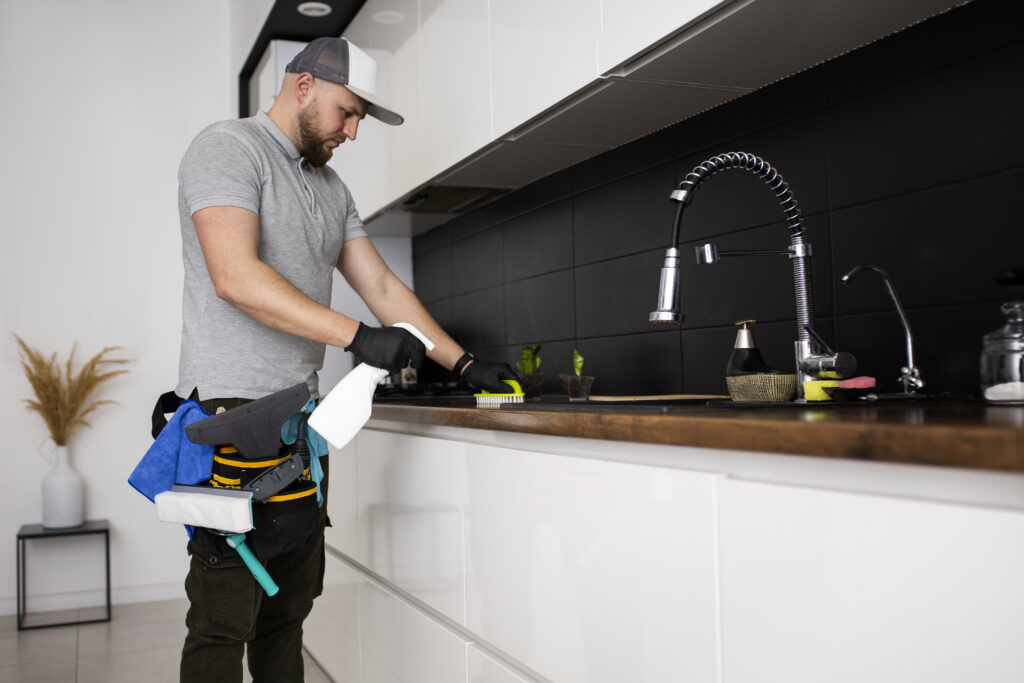
Kitchen remodeling continues to be one of the most valuable home improvement projects for homeowners in Jacksonville. The kitchen is no longer just a place to cook meals. It has become the center of family gatherings, entertainment, and everyday living. As home design trends continue to evolve in 2026, many homeowners are investing in kitchen remodeling services to improve comfort, storage, functionality, and property value. Modern homeowners want kitchens that feel open, practical, and visually appealing. Older kitchens with outdated cabinets, limited lighting, and poor layouts often make homes feel smaller and less functional. A professionally remodeled kitchen can completely transform the appearance and usability of a home while creating a more enjoyable space for families and guests. Popular reasons homeowners remodel kitchens include: Improving storage space Updating outdated designs Increasing home value Adding energy efficient features Creating better layouts for cooking and entertaining Enhancing lighting and functionality Whether homeowners want a complete renovation or a few modern upgrades, professional kitchen contractors Jacksonville homeowners trust can help bring new ideas to life. Open Concept Kitchen Layouts Continue to Grow One of the biggest kitchen renovation ideas for 2026 is the continued popularity of open concept layouts. Many Jacksonville homeowners are removing walls and barriers to create larger and more connected living spaces. Open kitchens allow better movement between the kitchen, dining area, and living room, making homes feel brighter and more spacious. Benefits of open concept kitchens include: Better natural lighting Improved traffic flow More entertaining space Increased home value Better family interaction Large kitchen islands are also becoming a major feature in modern kitchen remodeling projects. Homeowners use islands for additional seating, storage, food preparation, and even workspaces for remote work or homework. Open layouts work especially well for Jacksonville homes because they create airy interiors that match Florida’s relaxed lifestyle and warm climate. Smart Storage Solutions for Modern Kitchens Storage continues to be a major priority in kitchen remodeling projects. Homeowners want organized kitchens that reduce clutter while maximizing available space. Popular smart storage upgrades include: Pull out pantry shelves Deep drawer organizers Hidden trash compartments Corner cabinet systems Vertical tray storage Custom spice racks Custom kitchen cabinets are becoming more common because they allow homeowners to personalize storage based on their cooking habits and lifestyle needs. Instead of wasting space with standard cabinets, custom solutions create more functionality and improve organization. Modern kitchens in 2026 focus on combining style with convenience. Hidden storage systems help maintain a clean and uncluttered appearance while making everyday tasks easier. Trending Cabinet Styles for 2026 Cabinets play a major role in the overall design of a kitchen. In 2026, Jacksonville homeowners are choosing cabinet styles that feel simple, modern, and timeless. Popular cabinet trends include: White shaker cabinets Natural wood finishes Two tone cabinet colors Matte black hardware Flat panel modern cabinets Soft close drawers and doors Many homeowners are also moving away from overly decorative styles and choosing clean lines with neutral colors. Soft earth tones, warm whites, and light wood textures continue to dominate modern kitchen remodeling projects. Custom kitchen cabinets also allow homeowners to improve both design and storage functionality at the same time. Best Countertop Materials for Jacksonville Homes Countertops are another important feature in kitchen remodeling projects. Jacksonville homeowners need surfaces that are durable, easy to maintain, and resistant to heat and moisture. Popular countertop materials include: Quartz countertops Granite surfaces Marble accents Butcher block countertops Solid surface materials Quartz remains one of the most requested materials because of its durability and low maintenance requirements. It offers a clean appearance while resisting stains and scratches, making it ideal for busy family kitchens. Large waterfall edge islands and full height backsplash designs are also becoming popular in high end kitchen renovation ideas for 2026. Kitchen Lighting Ideas That Improve Functionality Lighting has become a major design element in modern kitchens. Proper lighting improves functionality while making the space feel larger and more welcoming. Popular kitchen lighting upgrades include: Pendant lighting above islands Under cabinet LED lighting Recessed ceiling lights Statement light fixtures Smart dimmable lighting systems Natural lighting is also important for Jacksonville homes. Many remodeling projects now include larger windows or glass doors to allow more sunlight into the kitchen area. Layered lighting designs help homeowners create a balance between task lighting, ambient lighting, and decorative accents. Energy Efficient Appliances and Smart Features Technology continues to shape kitchen remodeling trends in 2026. Homeowners are investing in energy efficient appliances and smart home features that improve convenience and reduce energy costs. Popular smart kitchen upgrades include: Smart refrigerators Touchless faucets Voice controlled lighting Energy efficient dishwashers Smart ovens and cooking systems Energy efficient appliances not only reduce utility bills but also make kitchens more environmentally friendly. Many homeowners choose stainless steel appliances because they offer a modern appearance and long term durability. Smart kitchens are becoming increasingly popular among Jacksonville homeowners who want both convenience and modern functionality. Flooring Options for Busy Family Kitchens Kitchen flooring must handle daily wear while still looking attractive. In Jacksonville homes, moisture resistance and durability are especially important. Popular kitchen flooring options include: Luxury vinyl plank flooring Porcelain tile Waterproof laminate flooring Engineered hardwood Large format tile designs Luxury vinyl flooring continues to grow in popularity because it combines durability, water resistance, and affordability. Many homeowners also choose tile flooring for its long lifespan and easy maintenance. Neutral flooring colors help kitchens feel larger while complementing modern cabinet and countertop designs. Adding Value With Custom Kitchen Remodeling Kitchen remodeling is one of the best ways to increase property value. Updated kitchens attract buyers and improve overall home appeal. Even smaller upgrades can make a major difference in appearance and functionality. Features that increase home value include: Modern layouts Updated cabinetry New countertops Energy efficient appliances Improved lighting Additional storage solutions Professional kitchen contractors in Jacksonville homeowners hire often help prioritize upgrades that deliver the best long term return on investment. Well designed kitchens also improve everyday living by creating a
Top Kitchen Remodeling Ideas for Jacksonville Homes in 2026 Read More »