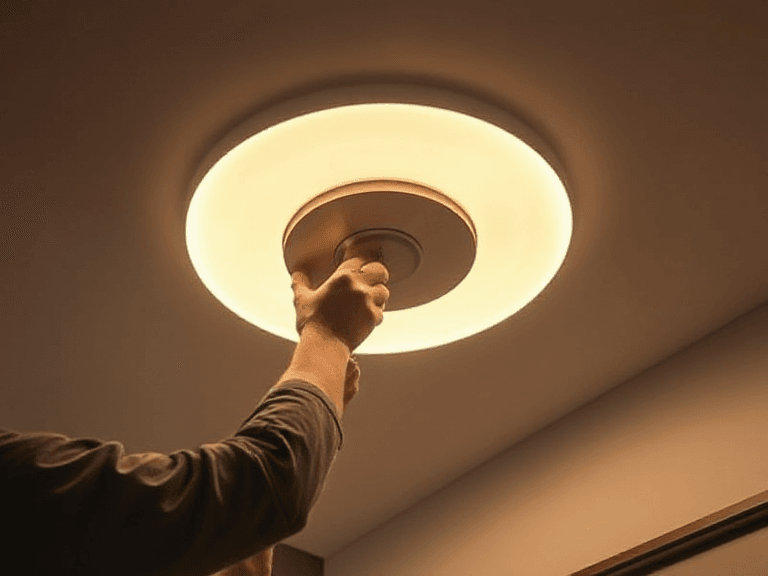
LED ceiling lights have revolutionized modern home lighting by offering energy efficiency, longevity, and an array of stylish designs. Whether you’re upgrading your current lighting or installing a new fixture, understanding how to install LED ceiling lights is a valuable skill. This guide from ZZ the HandyMan will walk you through the process step by step, ensuring a safe and successful installation.
Why Choose LED Ceiling Lights?
Before diving into the installation process, let’s look at why LED ceiling lights are an excellent choice for your home:
- Energy Efficiency: LEDs consume significantly less energy than traditional incandescent or fluorescent bulbs, reducing your electricity bill.
- Longevity: LED lights have a lifespan of up to 50,000 hours, meaning fewer replacements.
- Eco-Friendly: LEDs do not contain harmful substances like mercury and emit minimal heat, making them environmentally friendly.
- Design Versatility: From recessed lights to modern chandeliers, LED ceiling lights come in various styles to suit any decor.
Tools and Materials You’ll Need
Before starting the installation, gather the following tools and materials:
- LED ceiling light fixture
- Screwdriver (flat-head and Phillips)
- Drill (if mounting holes are required)
- Wire strippers
- Electrical tape
- Voltage tester
- Ladder or step stool
- Anchors and screws (if not included with the fixture)
- Wire connectors (often included with the light fixture)
- Safety gloves
Step-by-Step Installation Process
1. Turn Off the Power
Safety is paramount when working with electricity. Locate the circuit breaker that controls the power to the area where you’ll be installing the light and turn it off. Use a voltage tester to confirm there is no electricity running to the wires.
2. Remove the Existing Fixture
If you’re replacing an old light, carefully remove it:
- Unscrew the fixture’s mounting hardware.
- Lower the fixture gently to access the wiring.
- Disconnect the wires by untwisting the wire connectors.
- Set the old fixture aside.
3. Inspect the Electrical Box
Ensure the electrical box is secure and can support the weight of the new fixture. If necessary, replace it with a sturdier box. Confirm the box is properly grounded to prevent electrical hazards.
4. Prepare the New Fixture
Unpack your LED ceiling light and review the manufacturer’s instructions. Assemble any components as instructed. Identify the wires: typically, the black (or red) wire is live, the white wire is neutral, and the green or bare wire is ground.
5. Install the Mounting Bracket
Most LED ceiling lights come with a mounting bracket. Attach this bracket to the electrical box using screws. Ensure it is firmly secured, as it will support the fixture.
6. Connect the Wires
Carefully connect the wires as follows:
- Match the black (live) wire from the electrical box with the black wire from the fixture.
- Connect the white (neutral) wires together.
- Attach the green or bare ground wire from the fixture to the grounding screw on the electrical box or the ground wire in the box.
Use wire connectors to secure the connections and wrap them with electrical tape for extra protection.
7. Attach the Fixture
Align the LED light fixture with the mounting bracket and secure it with the provided screws. Ensure the fixture is flush with the ceiling and all components are tightly fastened.
8. Test the Light
Turn the circuit breaker back on and test the light to ensure it works correctly. If the light doesn’t turn on, double-check the wiring connections and consult the manufacturer’s instructions.
9. Secure and Finish
If the fixture is functioning properly, ensure all screws are tightened, and clean up any debris from the installation process. Dispose of old fixtures and packaging materials responsibly.
Tips for a Smooth Installation
- Read the Instructions: Always refer to the manufacturer’s guide for specific installation details.
- Use the Right Tools: Ensure you have the necessary tools for a seamless process.
- Ask for Help: Some fixtures can be heavy or awkward to handle. Having a second person assist can make the process easier and safer.
- Hire a Professional: If you’re unsure about handling electrical work, consult a licensed electrician to avoid potential hazards.
Maintaining Your LED Ceiling Lights
To prolong the life of your LED lights:
- Clean them regularly with a soft, dry cloth to remove dust and debris.
- Avoid using harsh chemicals or abrasive materials.
- Check for loose fittings or connections periodically.
Common Mistakes to Avoid
- Working with Live Wires: Always ensure the power is turned off before starting.
- Improper Grounding: Skipping this step can lead to electrical shocks or fires.
- Overloading the Circuit: Ensure your electrical box can handle the fixture’s wattage and weight.
- Ignoring Local Codes: Follow local building codes and regulations for safe installation.
Conclusion
Installing LED ceiling lights is a rewarding project that enhances the aesthetics and functionality of your space. By following this step-by-step guide, you can achieve a professional-looking result while saving on energy costs. For those who prefer expert assistance, ZZ the HandyMan is here to help with all your home improvement needs. Illuminate your home with confidence and style!


