
When it comes to maintaining the perfect indoor temperature, your thermostat plays a pivotal role. Whether you’re upgrading to a smart thermostat or replacing an outdated model, proper installation and setup are critical for efficient climate control and energy savings. At ZZ the HandyMan, we’re here to guide you through the process and ensure your home’s heating and cooling systems run seamlessly. In this comprehensive guide, we’ll explore everything you need to know about thermostat installation and replacement.
Why Is Your Thermostat Important?
The thermostat acts as the brain of your HVAC system, controlling when your heating or cooling system turns on and off to maintain your desired temperature. A well-installed and correctly functioning thermostat offers:
- Improved Energy Efficiency: By maintaining consistent temperatures, it reduces energy waste.
- Enhanced Comfort: Precise temperature control ensures a comfortable living space.
- Cost Savings: Efficient operation lowers your utility bills.
- Ease of Use: Modern thermostats provide advanced features, such as scheduling and remote access.
Types of Thermostats
Before diving into installation, it’s essential to choose the right thermostat for your needs. Here are the common types:
- Manual Thermostats: Basic models that require manual adjustment. These are cost-effective but lack advanced features.
- Programmable Thermostats: Allow you to set schedules to automatically adjust temperatures based on your routine.
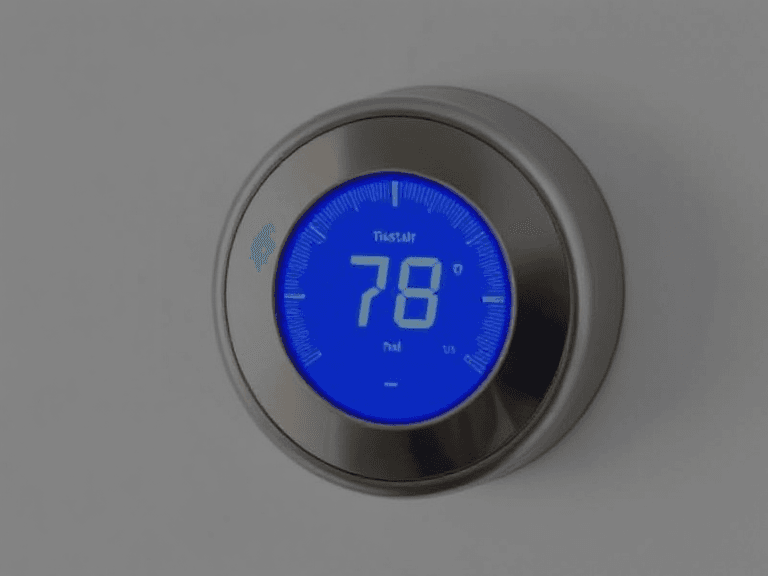
- Smart Thermostats: Wi-Fi-enabled devices that can be controlled via smartphone apps and often learn your preferences over time.
- Zoned Thermostats: Designed for multi-zone HVAC systems, enabling different temperature settings in various areas of your home.
Tools and Materials Needed for Installation
- New thermostat
- Screwdrivers (flathead and Phillips)
- Drill (if required)
- Level
- Wire labels
- Electrical tape
- User manual for the thermostat
Steps for Installing or Replacing a Thermostat
Step 1: Turn Off Power
Safety first! Switch off the power to your HVAC system at the circuit breaker to avoid electrical shocks or damage to the system.
Step 2: Remove the Old Thermostat
- Detach the cover of the old thermostat.
- Take a picture of the wiring configuration or label the wires with the provided stickers.
- Unscrew the mounting plate and carefully disconnect the wires.
Step 3: Install the New Thermostat Base
- Attach the new thermostat’s base to the wall using screws and anchors if necessary.
- Use a level to ensure it’s properly aligned.
- Feed the wires through the base’s opening.
Step 4: Connect the Wires
- Match each wire to its corresponding terminal on the new thermostat.
- Tighten the terminal screws securely.
- Use electrical tape to cover any exposed copper wiring.
Step 5: Attach the Thermostat
Snap the thermostat onto the base and ensure it’s securely attached.
Step 6: Restore Power and Test
- Turn the power back on at the circuit breaker.
- Follow the thermostat’s setup instructions to configure your preferences.
- Test the system to ensure it’s functioning correctly.
Common Challenges and Troubleshooting Tips
1. Incorrect Wiring
- Issue: Thermostat doesn’t power on or control the HVAC system properly.
- Solution: Double-check wire connections against the manual and ensure they’re securely fastened.
2. Improper Placement
- Issue: Inconsistent temperature readings.
- Solution: Avoid installing the thermostat near heat sources, windows, or vents.
3. Compatibility Problems
- Issue: The thermostat doesn’t work with your HVAC system.
- Solution: Verify compatibility before purchasing. Smart thermostats often have compatibility check tools.
4. Wi-Fi Setup Errors (Smart Thermostats)
- Issue: Difficulty connecting to your home network.
- Solution: Ensure a strong Wi-Fi signal and follow the app’s setup instructions.
Benefits of Professional Installation by ZZ the HandyMan
- Expertise: Our technicians have extensive experience installing all types of thermostats, ensuring error-free setup.
- Time-Saving: Skip the hassle of installation and let us handle the job quickly and efficiently.
- System Optimization: We ensure your thermostat is correctly calibrated and integrated with your HVAC system.
- Peace of Mind: Avoid potential mistakes that could lead to costly repairs or inefficiencies.
Maintenance Tips for Your Thermostat
- Replace Batteries: For battery-powered models, replace the batteries annually to avoid disruptions.
- Clean Regularly: Dust and dirt can affect sensor accuracy. Wipe the exterior with a soft cloth and clean the interior as needed.
- Update Software: Smart thermostats often receive updates. Check for and install these updates regularly.
- Monitor Performance: Keep an eye on your HVAC system’s performance to detect any issues early.
Why Choose ZZ the HandyMan?
At ZZ the HandyMan, we’re committed to helping you achieve the perfect indoor climate with expert thermostat installation and replacement services. Here’s what sets us apart:
- Skilled Technicians: Our team is well-versed in the latest thermostat technologies.
- Personalized Solutions: We help you choose the right thermostat for your needs and budget.
- Customer Satisfaction: Your comfort is our top priority, and we strive to exceed your expectations.
- Comprehensive Services: From installation to troubleshooting, we’re here for all your thermostat needs.
Conclusion
Installing or replacing a thermostat may seem like a straightforward task, but it requires careful attention to detail to ensure optimal performance. Whether you’re upgrading to a smart thermostat or replacing an old model, ZZ the HandyMan is here to provide expert assistance. Contact us today to schedule your thermostat installation and enjoy a more comfortable, energy-efficient home!
