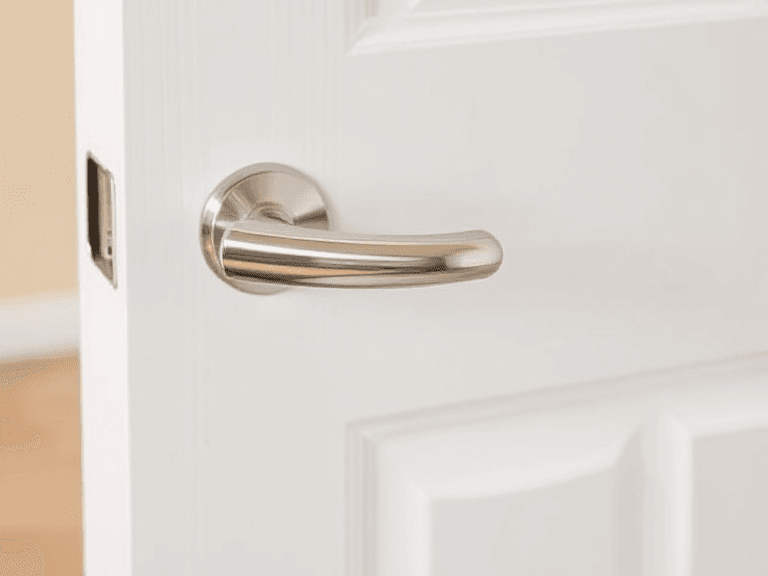
Lever door handles are a practical and stylish choice for modern homes and offices. They combine functionality with aesthetics, making them a popular alternative to traditional knob handles. (Knob handles are difficult for people to grasp , replacing those knobs with lever handles are common sense solution) Whether you’re upgrading your doors, replacing a broken handle, or installing a lever handle on a newly installed door, this guide will walk you through the process with clarity and ease. At ZZ the HandyMan, we’re committed to helping you with all your home improvement projects, big or small.
Why Choose Lever Door Handles?
Before diving into the installation or replacement process, let’s explore why lever door handles are a fantastic choice:
- Ease of Use: Lever handles are easier to operate than traditional round knobs, especially for children, seniors, or individuals with limited mobility.
- Stylish Options: They come in a variety of designs, finishes, and materials, allowing you to match them with your décor.
- Accessibility Compliance: Lever handles meet accessibility standards, making them ideal for commercial spaces or homes with diverse needs.
- Durability: High-quality lever handles are built to withstand daily wear and tear.
Tools and Materials You’ll Need
For a smooth installation or replacement process, gather these tools and materials:
- A new lever door handle set
- Screwdriver (Phillips or flathead, depending on your handle type)
- Drill and drill bits (optional for new installations)
- Measuring tape
- Pencil
- Chisel (for adjusting the latch plate area, if needed)
- Safety goggles (if drilling or chiseling)
Step-by-Step Installation Guide
Step 1: Prepare the Door
If you’re replacing an old handle, start by removing it:
- Unscrew the existing handle from the door. Most handles have visible screws on the interior side.
- Remove the handle and latch assembly by gently pulling them out.
- Inspect the door’s condition, ensuring there are no cracks or damages around the handle area.
For new installations, confirm that the door has pre-drilled holes. If not, measure and mark the appropriate spots for the handle and latch, then drill the holes as needed.
Step 2: Install the Latch Mechanism
- Insert the latch mechanism into the edge of the door. Ensure the beveled edge of the latch faces the correct direction—it should align with the direction the door closes.
- Secure the latch with screws provided in the handle set.
- If the latch plate doesn’t sit flush with the door edge, use a chisel to create a slight recess.
Step 3: Attach the Lever Handle
- Align the handle assembly with the latch mechanism. Most lever handles come with a spindle that connects the interior and exterior handles through the latch.
- Insert the spindle into the latch mechanism.
- Attach the exterior handle first, ensuring it fits snugly over the spindle and aligns with the screw holes.
- Secure the interior handle, tightening the screws to hold both handles in place.
- Check that the handles operate smoothly without sticking or wobbling.
Step 4: Secure the Strike Plate
- Position the strike plate on the door frame where the latch meets the frame when closed.
- Mark the plate’s outline and screw hole positions on the frame.
- Use a chisel to recess the strike plate area if necessary.
- Screw the strike plate securely into place.
Step 5: Test the Handle
Before wrapping up, ensure the lever handle functions properly:
- Open and close the door several times, checking the latch engagement.
- Verify that the handle moves smoothly and locks (if applicable).
- Adjust screws or components if needed to achieve a perfect fit.
Common Issues and Troubleshooting
Even with careful installation, you might encounter minor issues. Here are some quick fixes:
- Handle Feels Loose: Tighten all screws to ensure a secure fit.
- Latch Doesn’t Align with Strike Plate: Adjust the strike plate’s position or chisel a deeper recess.
- Handle Sticks or Doesn’t Turn: Check for misaligned parts and reassemble if necessary.
Tips for a Professional Finish
- Choose a lever handle style and finish that complements your door and room décor.
- Clean the handle after installation to remove fingerprints or smudges.
- Consider lubricating the latch mechanism for smooth operation.
When to Call a Professional
While many homeowners can install or replace lever door handles themselves, certain situations may require professional assistance:
- Custom Doors: If your door has non-standard dimensions or intricate designs, professional installation ensures a proper fit.
- Damaged Doors: A professional can repair or reinforce the door before installing the handle.
- Time Constraints: If you’re short on time, a handyman can complete the task efficiently.
Why Choose ZZ the HandyMan?
At ZZ the HandyMan, we take pride in delivering top-notch home improvement services. Whether it’s a simple door handle replacement or a comprehensive home remodeling project, our skilled team is here to help. With years of experience and a commitment to customer satisfaction, we ensure every project is completed to the highest standards.
Conclusion Lever door handle installation and replacement is a straightforward project that can enhance your home’s functionality and aesthetic appeal. With the right tools, a bit of patience, and this guide, you can tackle the task confidently. For expert assistance or any other home improvement needs, trust ZZ the HandyMan to get the job done right. Contact us today to learn more about our services or to schedule an appointment!


